Product Guide
DJI Mic Mini guide
Ultra-light wireless microphone kit: about 10 g per transmitter, up to 11.5 hours per charge, and direct connection to phones, cameras and computers.
Great for: Interviews and two-person videos · Vlogging on a phone or camera · Clean audio in windy or noisy places
Before you start
- DJI sells the Mic Mini in kits with one or two transmitters, with or without a charging case. This guide follows the two-transmitter kit with a charging case. Check with JuanderGear which kit you have.
Overview
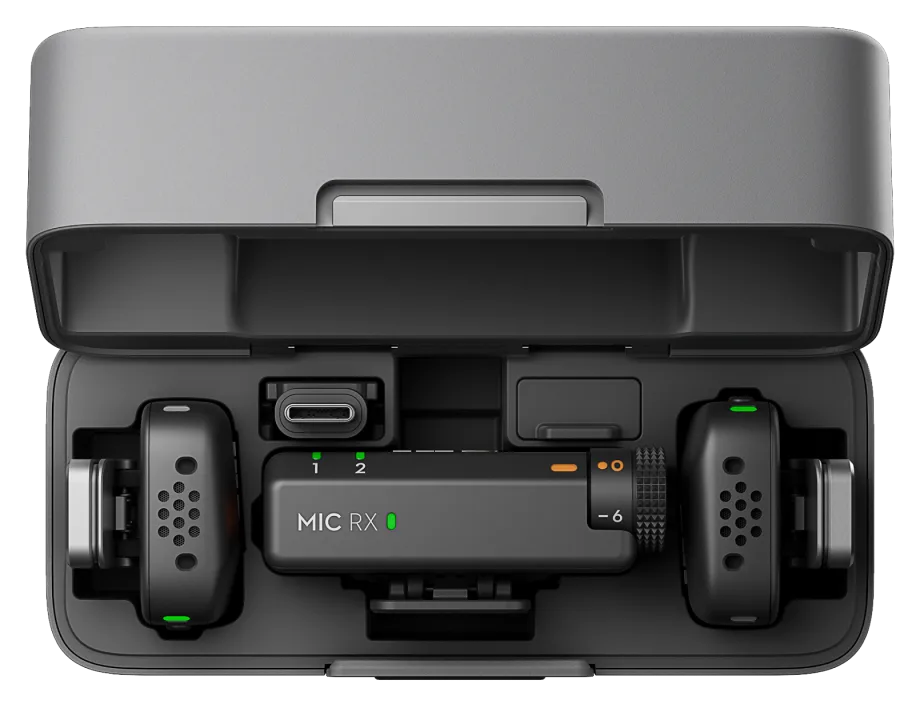
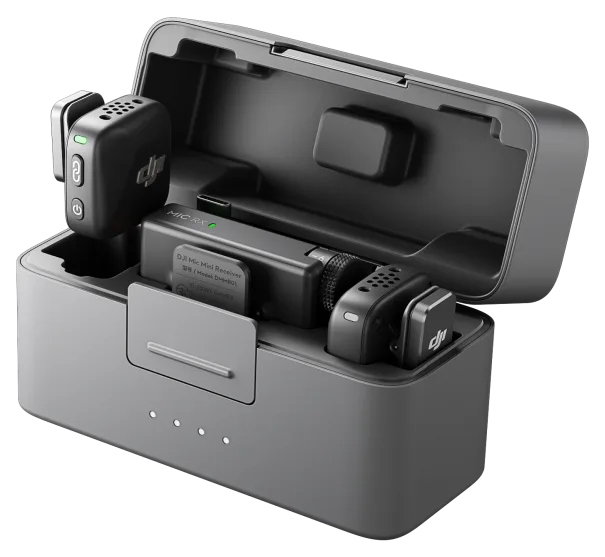
The DJI Mic Mini kit has small clip-on transmitters (TX), which are the microphones you wear, and a receiver (RX) that plugs into your phone, camera or computer. In the charging case, the transmitters and receiver charge together and link automatically.[1]
A transmitter can also connect directly to a phone over Bluetooth, or to supported DJI cameras such as the Osmo Pocket 3 and Osmo Action 4, without the receiver.[1]
Key features
-
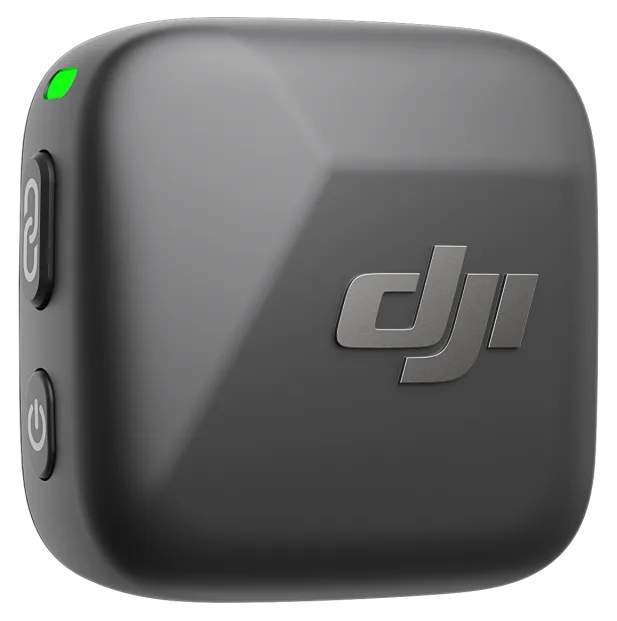
About 10 g per transmitter
Small enough to clip to a collar or attach magnetically without being noticed.[2]
-
Up to 11.5 hours per charge
Transmitter battery life, plus about 3.6 extra full charges for two transmitters and the receiver from the charging case.[2]
-
Two-level noise cancelling
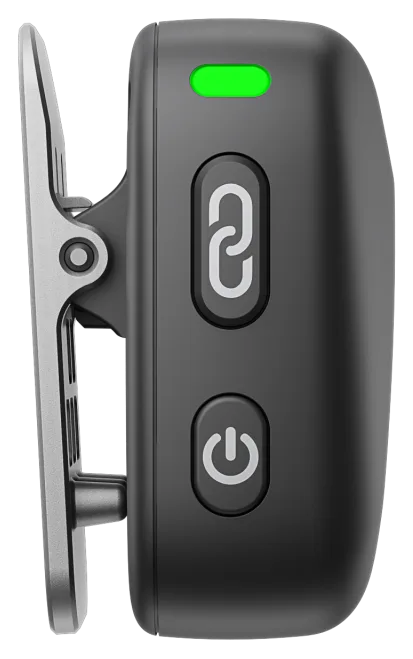
Press the transmitter power button once to turn noise cancelling on or off. Choose Basic or Strong in DJI Mimo.[3]
-
Up to 400 m range
Maximum transmission distance in open, interference-free conditions (for reference).[2]
-
Mono, stereo or safety track
Press the receiver linking button twice to switch between mono and stereo.[1]
-
Direct to DJI cameras
One transmitter connects directly to the Osmo Action 4. Up to two connect to the Osmo Pocket 3.[3]
Specifications
Values are the manufacturer's published figures. Battery times are measured by the manufacturer in lab conditions and will be shorter in real use.
| Dimensions | 26.55 × 26.06 × 15.96 mm[2] |
|---|---|
| Weight | About 10 g[2] |
| Battery | 114 mAh; up to about 11.5 hours[2] |
| Charging time | About 90 min[2] |
| Dimensions | 46.50 × 29.61 × 19.32 mm[2] |
|---|---|
| Weight | 17.8 g[2] |
| Battery | 170 mAh; up to about 10.5 hours[2] |
| Charging time | About 100 min[2] |
Getting started
-
Charge everything in the case
Place the transmitters and receiver in the charging case to charge them together. Charge the case with the included USB-C cable when it runs low.[1]
-
Take them out to power on
The transmitters and receiver power on automatically when you lift them out of the case. In the kit they are already linked to each other.[1]
-
Wear the transmitter
Attach it to clothing with the clip or the magnet, or place it on a stable surface using the magnet. Outdoors or in wind, fit the windscreen.[1]
-
Connect the receiver
Attach the receiver to your phone with the adapter, to a camera with the clip and the 3.5 mm audio cable, or to a computer with the USB-C cable. Details are in the tutorials below.[1]
Record a few seconds and play it back to check levels before an important take.
How-to tutorials
Use with a phone (receiver)
- Attach the receiver to the phone with the adapter, then clip the transmitter to your collar.
- Press the transmitter's linking button to start and stop recording.
- For long recordings or live streams, use the adapter. You can then charge the phone and the receiver together through the receiver's charging cable.
- The Lightning adapter is sold separately.
Source: [1] DJI Mic Mini User Manual
Use with a camera
- Mount the receiver on the camera with its clip and connect the 3.5 mm audio cable.
- Lower the camera's own audio gain to avoid clipping. DJI publishes recommended camera gain settings on the Mic Mini downloads page.
- Then raise the receiver gain with its dial for better audio quality.
Source: [1] DJI Mic Mini User Manual
Use with a computer
- Connect the receiver to the computer with the provided cable or adapter.
- Select the DJI receiver as the audio input in your computer's sound settings or recording app.
Source: [1] DJI Mic Mini User Manual
Connect a transmitter directly to a phone over Bluetooth
- With the transmitter on, press and hold its linking button for two seconds until the status LED blinks blue and green alternately.
- Turn on Bluetooth on the phone and select DJI Mic Mini-XXXXXX.
- When the transmitter LED turns solid blue, it works as a microphone in recording and live-streaming apps.
Source: [1] DJI Mic Mini User Manual
Connect a transmitter directly to a DJI camera
- On the DJI camera, open system settings and tap Wireless Microphone.
- Follow the on-screen instructions. The transmitter LED turns solid blue when connected.
- Press the transmitter's linking button to start and stop recording on the camera.
Source: [1] DJI Mic Mini User Manual
Noise cancelling, gain and stereo
- Transmitter power button: press once to turn noise cancelling on or off. A solid yellow LED means it is on.
- Receiver dial: rotate to adjust gain.
- Receiver linking button: press twice to switch between mono and stereo.
Source: [1] DJI Mic Mini User Manual
Re-link the transmitter and receiver
- Easiest: put the transmitters and the receiver back in the charging case. They link automatically.
- Manually: press and hold the transmitter's linking button for two seconds until its LED blinks blue and green. Then press and hold the receiver's linking button for two seconds. The LEDs turn solid green when linked.
Source: [1] DJI Mic Mini User Manual
Video tutorials
Official tutorial videos published by the manufacturer. Videos open on the manufacturer's video site.
Manuals & downloads
Documents are hosted by the manufacturer and open in a new tab. Always use the latest version.
- PDF DJI Mic Mini User Manual (opens in a new tab)
- PDF Quick Start Guide (2 TX + 1 RX + Charging Case) (opens in a new tab)
- PDF Quick Start Guide (1 TX + 1 RX) (opens in a new tab)
- PDF Safety Guidelines (opens in a new tab)
- PDF Phone Compatibility List (DJI Mic series) (opens in a new tab)
- PDF Firmware Release Notes (opens in a new tab)
- Page All downloads (including recommended camera gain settings) (opens in a new tab)
Troubleshooting
No sound from the transmitter (not linked)
- Put the transmitters and the receiver in the charging case to link them automatically.
- Or link them manually: hold the transmitter's linking button for two seconds, then the receiver's linking button for two seconds, until the LEDs turn solid green.
Source: [1] DJI Mic Mini User Manual
Audio on the camera sounds distorted or clipped
- Lower the camera's input gain, following DJI's recommended gain guide on the downloads page.
- Then raise the receiver gain with the dial.
Source: [1] DJI Mic Mini User Manual
The transmitter switches itself off
- The Mic Mini can power off automatically after 15 minutes. Change this setting in DJI Mimo.
Source: [3] DJI Mic Mini FAQ
The status lights are off but the mic is on
- The status LEDs may have been disabled in settings. Press any button to turn them back on.
Source: [1] DJI Mic Mini User Manual
Firmware update fails on iPhone
- Remove the adapter, then connect the transmitter and the receiver to DJI Mimo over Bluetooth one at a time.
- To connect the receiver on iOS: with it powered off, hold its power button for six seconds until the LED blinks green and then slowly blue, then connect in DJI Mimo.
Source: [1] DJI Mic Mini User Manual
Still stuck with a rented unit? Contact JuanderGear.
Care & safe use
Charging and battery[3]
- DJI's FAQ lists 5V/2A as the maximum charging input for the Mic Mini.
- Fully charge the battery at least once every three months to keep it healthy.
Magnet safety[3]
- The clip magnet is strong. Keep it away from pacemakers, bank cards and other magnetic-sensitive items.
Accessories[3]
- Mic Mini adapters are not interchangeable with those for the original DJI Mic or DJI Mic 2.
FAQ
Does the Mic Mini record audio internally?
No. The transmitter does not have internal recording, so audio is captured by the device the receiver or transmitter is connected to.[3]
How many transmitters can one receiver use?
Up to two at the same time.[3]
Can I plug it into an XLR mixer?
No. The Mic Mini does not support XLR output.[3]
How do I update the firmware?
Connect the microphone to the DJI Mimo app, tap About Devices on the device settings screen, then tap the firmware version to download and install the latest version.[1]
Sources
- DJI Mic Mini User Manual (opens in a new tab) — DJI. Checked October 23, 2026.
- DJI Mic Mini specifications (opens in a new tab) — DJI. Checked October 23, 2026.
- DJI Mic Mini FAQ (opens in a new tab) — DJI. Checked October 23, 2026.
Product names, logos and trademarks belong to their respective owners. JuanderGear is an independent rental service and is not affiliated with or endorsed by DJI, JBL/HARMAN or Microsoft. Guide content is summarised from the manufacturers' public documents; if anything here differs from the official manual, the manual takes precedence.
More product guides
-
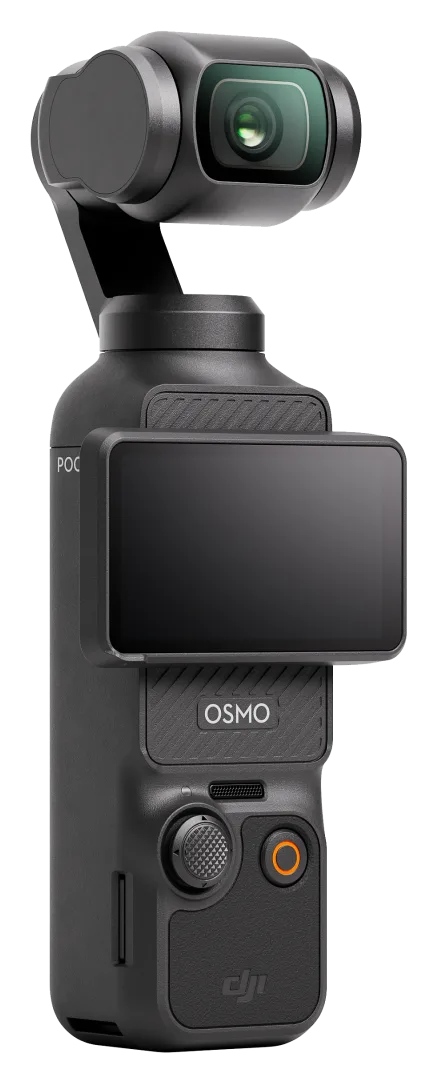 Cameras
DJI Osmo Pocket 3
Pocket-sized 3-axis gimbal camera with a 1-inch sensor, 4K video and a 2-inch rotating touchscreen. Made for vlogging and travel.
-
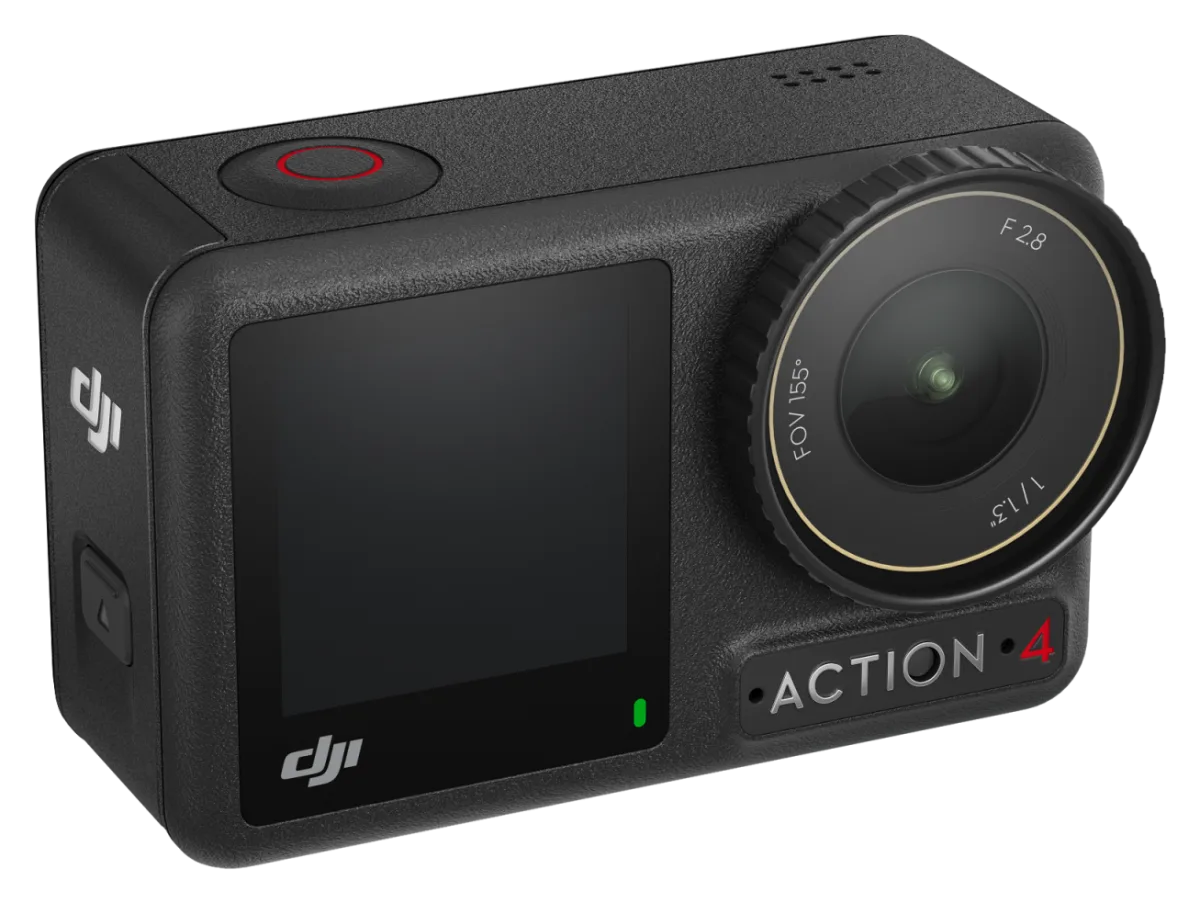 Cameras
DJI Osmo Action 4
Rugged action camera with a 1/1.3-inch sensor, 4K video at up to 120 fps, two touchscreens and waterproofing to 18 m without a case.
-
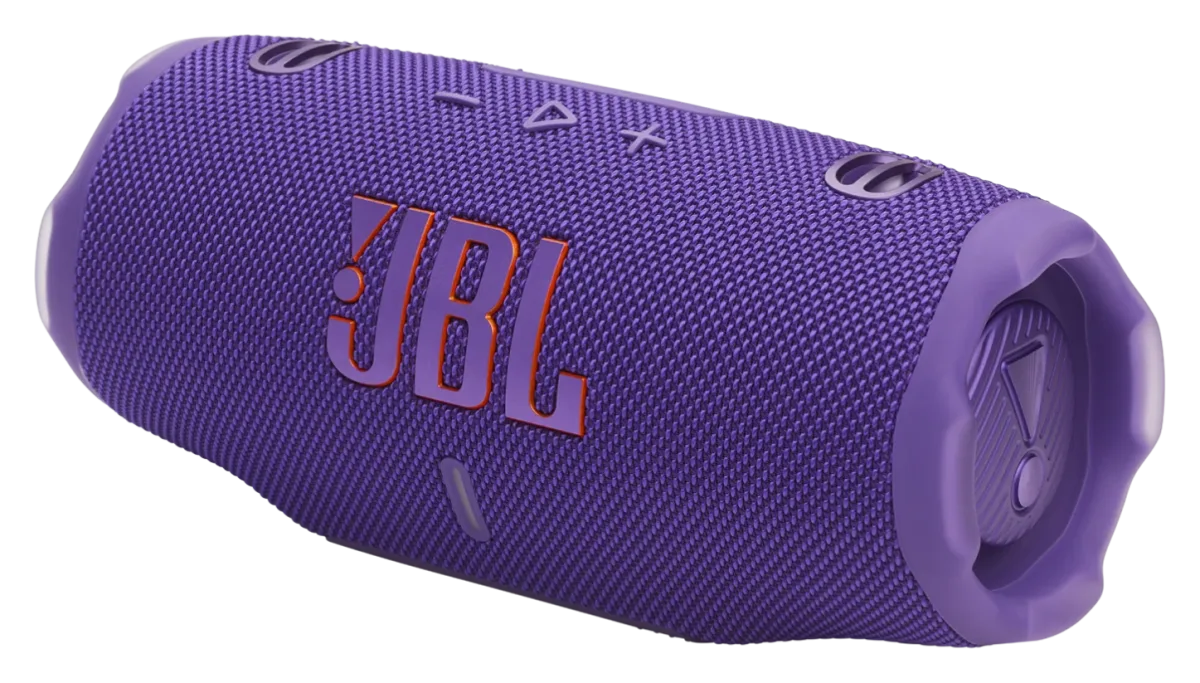 Audio
JBL Charge 6
Portable Bluetooth speaker with up to 24 hours of playtime (plus 4 hours with Playtime Boost), IP68 water and dust resistance, and a built-in powerbank.
Need help with your rental?
If something is not working as described, or a guide does not cover your question, message the JuanderGear team. For warranty and repairs of devices you own, contact the manufacturer directly.