Product Guide
DJI Osmo Action 4 guide
Rugged action camera with a 1/1.3-inch sensor, 4K video at up to 120 fps, two touchscreens and waterproofing to 18 m without a case.
Great for: Water sports and snorkeling · Cycling and riding POV · Travel vlogs with the front screen
Overview
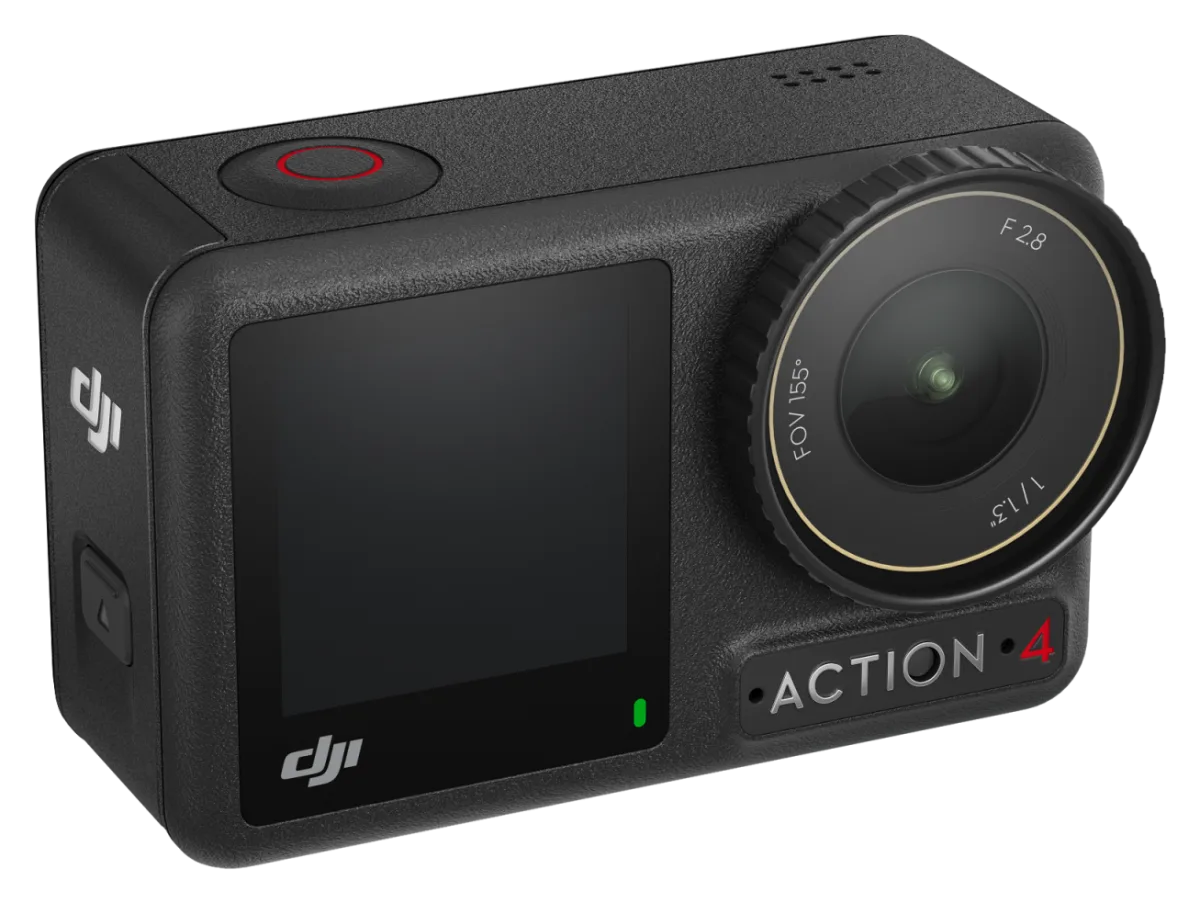
The Osmo Action 4 is DJI's compact action camera. It has a touchscreen on the front for framing selfies and vlogs and a larger touchscreen on the back, and it records stabilized 4K video.[2]
The camera is waterproof to 18 m on its own, as long as the battery cover, USB-C port cover and lens cover are all closed and secured. Footage is saved to a microSD card.[1]
Key features
-
4K at up to 120 fps
Records 4K (3840×2160) video at up to 120 frames per second, for smooth slow motion.[2]
-
Large 1/1.3-inch sensor
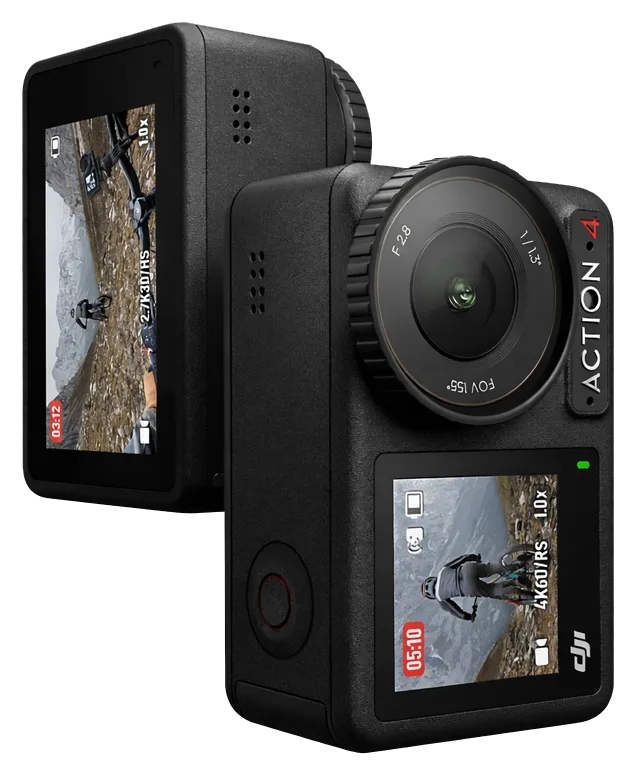
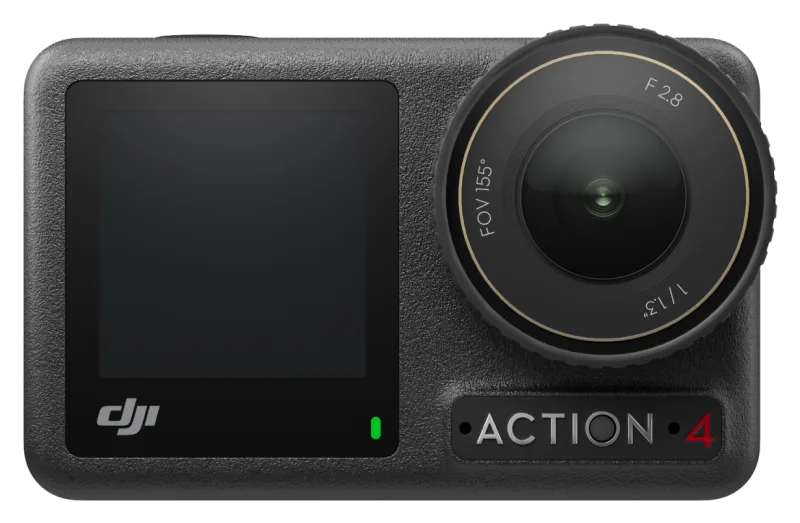
A 1/1.3-inch sensor with a 155° field of view and an f/2.8 lens.[2]
-
Waterproof to 18 m
Use it underwater to 18 m without a housing, or to 60 m in the Osmo Action 60m Waterproof Case (an optional accessory).[1]
-
RockSteady and HorizonSteady
Electronic stabilization modes include RockSteady 3.0, RockSteady 3.0+, HorizonBalancing and HorizonSteady.[2]
-
Front and rear touchscreens
A 1.4-inch front screen and a 2.25-inch rear screen. Only one screen can be used at a time.[1]
-
Webcam mode
Connect it to a computer with a USB-C cable and choose Webcam to use it as a video input.[1]
Specifications
Values are the manufacturer's published figures. Battery times are measured by the manufacturer in lab conditions and will be shorter in real use.
| Sensor | 1/1.3-inch[2] |
|---|---|
| Field of view | 155°[2] |
| Aperture | f/2.8[2] |
| Video | Up to 4K (3840×2160) at 120 fps[2] |
| Max video bitrate | 130 Mbps[2] |
| Video format | MP4 (H.264 / HEVC)[2] |
| Photo | 10 MP, JPEG or RAW[2] |
| Stabilization | RockSteady 3.0, RockSteady 3.0+, HorizonBalancing, HorizonSteady[2] |
| Waterproof | 18 m without a case; 60 m with the Osmo Action 60m Waterproof Case[2] |
|---|---|
| Screens | 1.4-inch front and 2.25-inch rear touchscreens[2] |
| Microphones | 3[2] |
| Battery | 1770 mAh; up to 160 min (manufacturer test at 1080p/24fps)[2] |
|---|---|
| Charging time | About 18 min to 80% and 49 min to full with the DJI 30W USB-C Charger[1] |
| Operating temperature | -20 °C to 45 °C[2] |
| Charging temperature | 5 °C to 40 °C[2] |
| Storage | microSD up to 512 GB (UHS-I Speed Grade 3 required)[2] |
| Wireless | Wi-Fi 802.11 a/b/g/n/ac; Bluetooth BLE 5.0[2] |
Getting started
-
Insert the battery
Press the release button on the battery compartment cover and slide it up, insert the battery, then close the cover. When the cover is mounted properly, the red marks on its base are no longer visible.[1]
-
Insert a microSD card
Footage is stored on a microSD card rated UHS-I Speed Grade 3. To remove the card, gently push it in so it partially ejects.[1]
-
Charge the camera
Open the USB-C port cover and connect a USB-C charger with the included USB-C cable. DJI recommends a Power Delivery or PPS charger. The battery is full when the status LEDs turn off.[1]
-
Power on
Press and hold the Quick Switch button to turn the camera on or off.[1]
-
Connect to DJI Mimo
DJI requires activation in the DJI Mimo app the first time the camera is used. Turn on Wi-Fi and Bluetooth on your phone, open DJI Mimo and follow the on-screen steps.[1]
Before shooting anything important, record a short test clip to confirm everything works.
How-to tutorials
Buttons and touchscreen basics
- Shutter/Record button: press once to take a photo or start and stop recording.
- With the camera off, press and hold the Shutter/Record button to power on and start shooting right away (SnapShot). The camera turns itself off after three idle seconds.
- Quick Switch button: press once to change shooting mode; while recording video or slow motion, press once to mark a highlight.
- Swipe down from the top of the screen for the control menu, left or right to change mode, and up from the bottom to set aspect ratio, timer and resolution.
Source: [1] DJI Osmo Action 4 User Manual v1.2
Copy footage to your phone or computer
- Phone: connect the camera to DJI Mimo, open Playback, then download the clips you want. You can share straight from the app.
- Computer: power on the camera, connect it with a USB-C cable and tap Transfer File on the camera screen. The camera cannot record while transferring.
- Android phones with OTG support can also read the files directly over the USB-C cable. If the phone is not detected, open the control menu and enable Settings > OTG Connection.
- If a transfer is interrupted, reconnect the camera and try again.
Source: [1] DJI Osmo Action 4 User Manual v1.2
Use it as a webcam
- Power on the camera and connect it to the computer with a USB-C cable.
- On the camera screen, tap Webcam. The bottom of the screen shows Webcam.
- Select the camera as the video source in your meeting or streaming app. Use the image settings icon on the camera screen to adjust exposure, white balance and field of view.
Source: [1] DJI Osmo Action 4 User Manual v1.2
Record audio with a DJI Mic Mini
- On the Action 4, open the system settings and tap Wireless Microphone.
- With the transmitter powered on, press and hold its linking button for two seconds until the status LED blinks blue and green.
- Follow the on-screen steps. The transmitter LED turns solid blue when connected. Pressing the transmitter's linking button then starts and stops recording on the camera.
Source: [3] DJI Mic Mini User Manual
Pre-dive checklist for underwater use
- Make sure the battery and its compartment are clean and dry, and the battery cover is firmly closed (no red marks visible).
- Make sure the USB-C port cover and the lens protective cover are clean, closed and secure.
- Use the optional waterproof case for diving, surfing, long periods underwater or high-impact water use.
- Do not jump into water at high speed with the camera, and do not use it in hot springs or unknown liquids.
- The touchscreens do not work underwater; use the buttons. Without the waterproof case, the Shutter/Record button is disabled automatically below 14 m.
Source: [1] DJI Osmo Action 4 User Manual v1.2
Video tutorials
Official tutorial videos published by the manufacturer. Videos open on the manufacturer's video site.
Manuals & downloads
Documents are hosted by the manufacturer and open in a new tab. Always use the latest version.
Troubleshooting
The computer does not show the camera's files
- Make sure the camera is powered on before connecting the USB-C cable.
- When the prompt appears on the camera screen, tap Transfer File. Choosing Cancel only charges the camera.
- If a transfer stops part-way, disconnect and reconnect the camera.
Source: [1] DJI Osmo Action 4 User Manual v1.2
The shutter button does nothing underwater
- The touchscreens cannot be used underwater, so use the physical buttons.
- Without the waterproof case, the Shutter/Record button is disabled automatically below 14 m. Come up shallower, or use the Osmo Action 60m Waterproof Case for deeper dives.
Source: [1] DJI Osmo Action 4 User Manual v1.2
A firmware update will not start
- Charge the camera to at least 15% battery.
- Connect the camera to DJI Mimo and follow the update prompt. The update takes about 2 minutes.
Source: [1] DJI Osmo Action 4 User Manual v1.2
The lens fogs up after water use
- Let the camera dry completely before changing or removing the lens protective cover.
- Avoid removing the lens protective cover often; dust and moisture can get inside it.
Source: [1] DJI Osmo Action 4 User Manual v1.2
Still stuck with a rented unit? Contact JuanderGear.
Care & safe use
After water use[1]
- Rinse the camera with clean water and let it dry naturally.
- Never use a hair dryer or hot air; it can rupture the microphone and breathable membranes and the camera will no longer be waterproof.
- The camera is not waterproof when used with the Osmo Action Lens Hood.
Cleaning[1]
- Clean the lens and lens cover with a lens cleaning pen, air blower or lens cloth.
- Wipe the battery and battery compartment with a clean, dry cloth.
- Keep the quick-release slots free of sand and dust before attaching a mount.
Battery[1]
- Use only official DJI batteries.
- Use the battery between -20 °C and 45 °C; above 45 °C there is a risk of fire. In cold conditions, fully charge it at room temperature first.
FAQ
Do I need a case to take the Osmo Action 4 underwater?
Not for depths up to 18 m, as long as the battery cover, USB-C port cover and lens cover are clean and firmly closed. For diving deeper (up to 60 m), surfing or high-impact water use, DJI recommends the Osmo Action 60m Waterproof Case.[1]
What memory card does it need?
A microSD card rated UHS-I Speed Grade 3, up to 512 GB. DJI publishes a list of recommended cards in the specifications.[2]
Can I connect a wireless microphone?
Yes. One DJI Mic Mini transmitter can connect directly to the Osmo Action 4 over Bluetooth, without a receiver.[4]
Sources
- DJI Osmo Action 4 User Manual v1.2 (opens in a new tab) — DJI. Checked October 23, 2026.
- Osmo Action 4 specifications (opens in a new tab) — DJI. Checked October 23, 2026.
- DJI Mic Mini User Manual (opens in a new tab) — DJI. Checked October 23, 2026.
- DJI Mic Mini FAQ (opens in a new tab) — DJI. Checked October 23, 2026.
Product names, logos and trademarks belong to their respective owners. JuanderGear is an independent rental service and is not affiliated with or endorsed by DJI, JBL/HARMAN or Microsoft. Guide content is summarised from the manufacturers' public documents; if anything here differs from the official manual, the manual takes precedence.
More product guides
-
 Audio
DJI Mic Mini
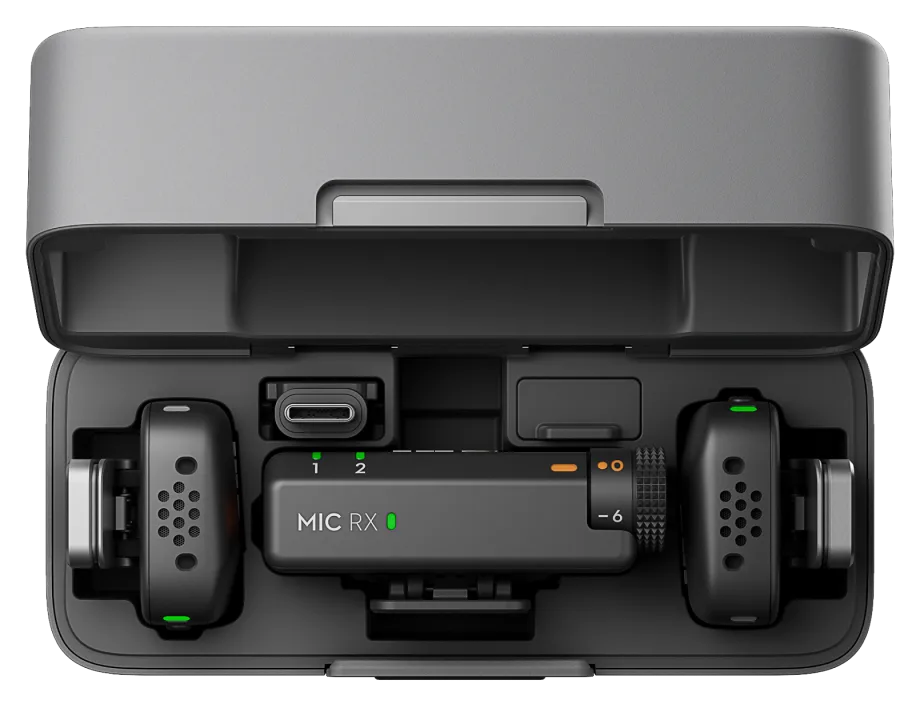
Ultra-light wireless microphone kit: about 10 g per transmitter, up to 11.5 hours per charge, and direct connection to phones, cameras and computers.
-
 Cameras
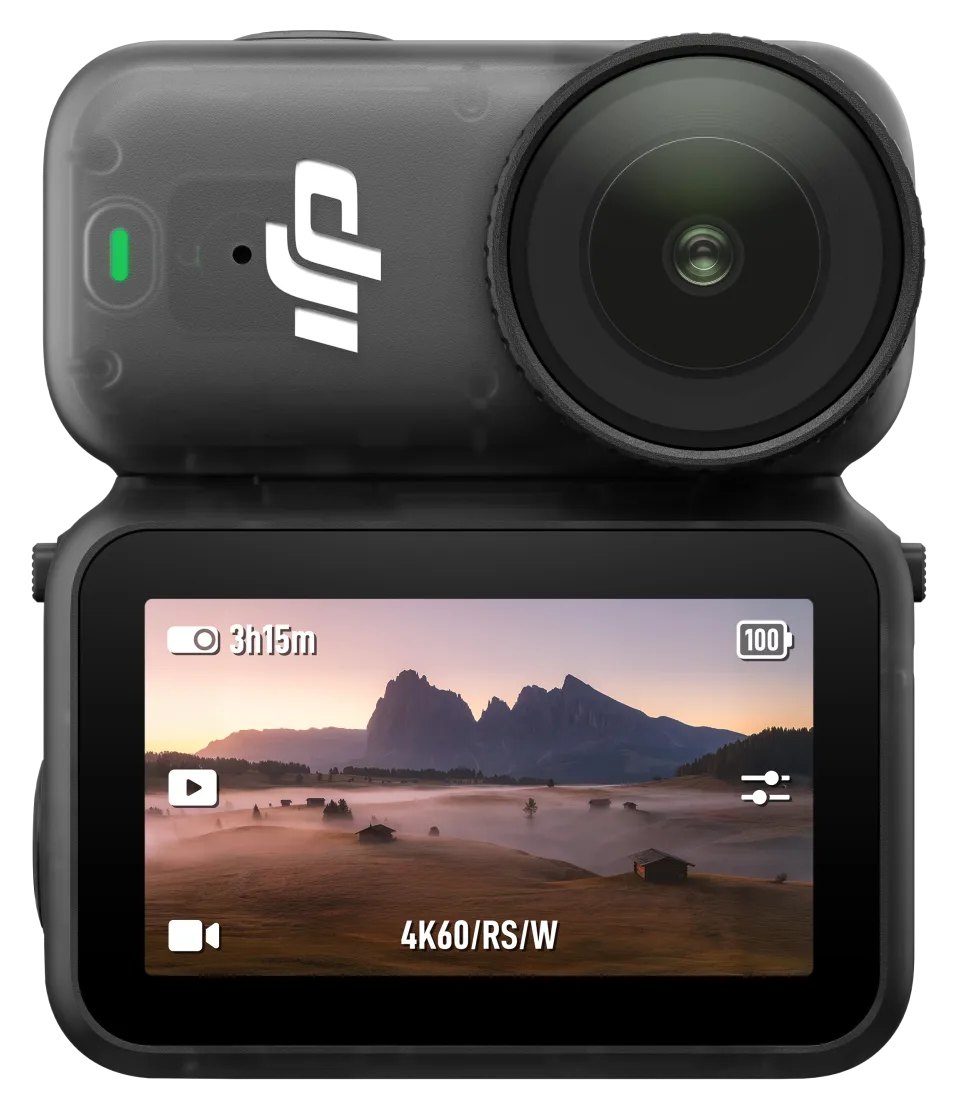
DJI Osmo Nano
Tiny 52 g magnetic camera that records 4K at 60 fps. Wear it, clip it or mount it, and pair it with its Vision Dock for a screen and longer battery life.
-
 Cameras
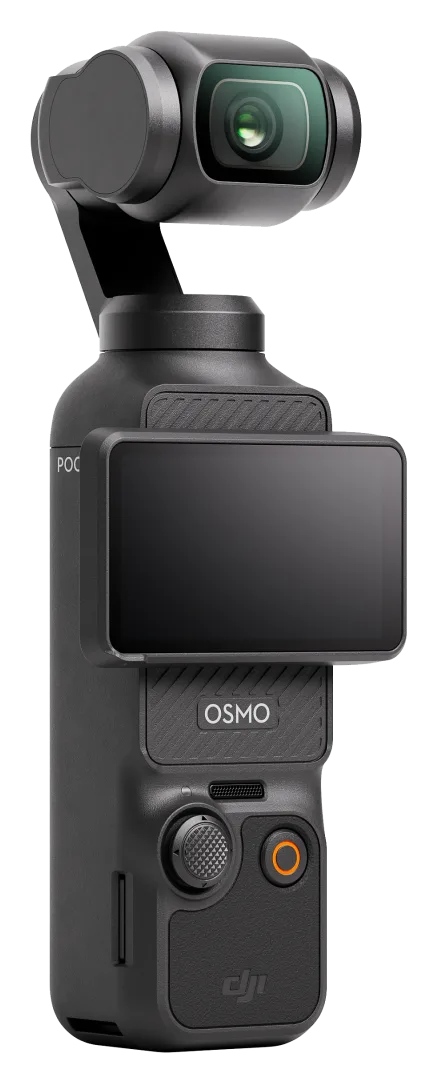
DJI Osmo Pocket 3
Pocket-sized 3-axis gimbal camera with a 1-inch sensor, 4K video and a 2-inch rotating touchscreen. Made for vlogging and travel.
Need help with your rental?
If something is not working as described, or a guide does not cover your question, message the JuanderGear team. For warranty and repairs of devices you own, contact the manufacturer directly.