Product Guide
DJI Osmo Nano guide
Tiny 52 g magnetic camera that records 4K at 60 fps. Wear it, clip it or mount it, and pair it with its Vision Dock for a screen and longer battery life.
Great for: Hands-free first-person (POV) footage · Wearable shots with the hat clip or lanyard · Long rides and hikes with Auto Recording
Before you start
- The Osmo Nano comes in 64 GB and 128 GB versions. Ask JuanderGear which one you have.
Overview
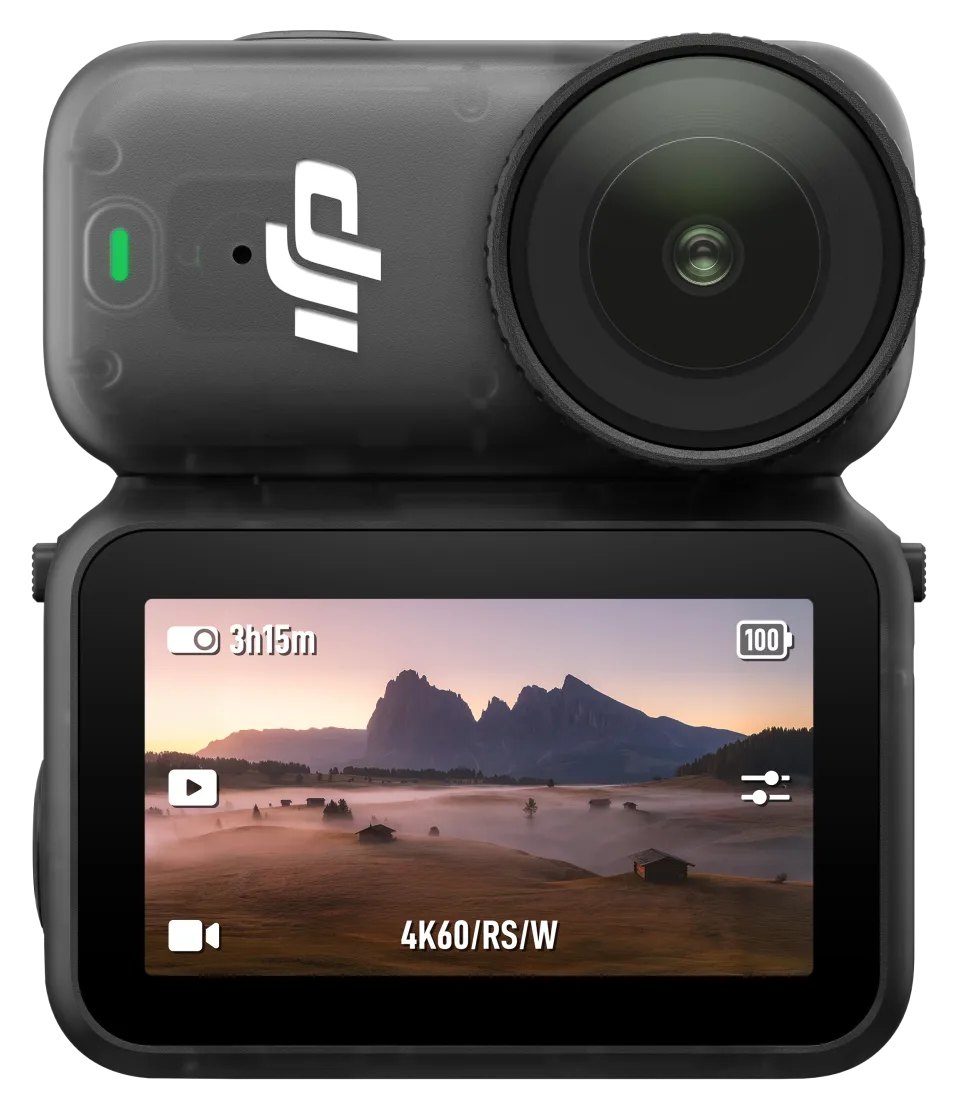
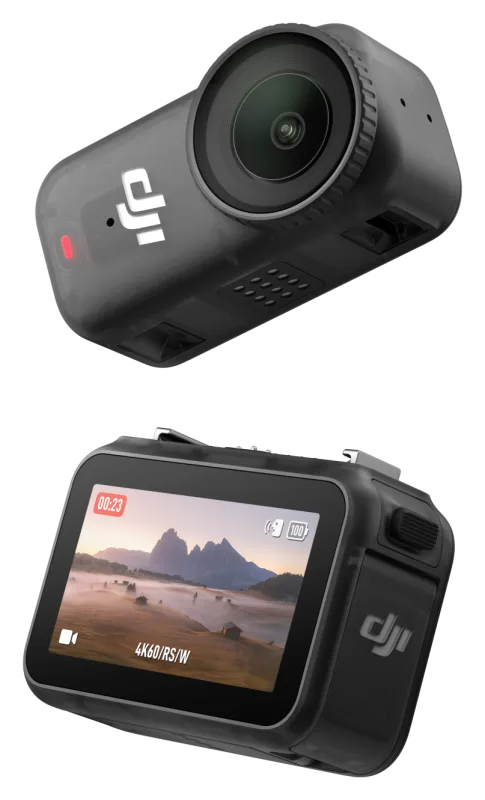
The Osmo Nano has two parts. The small camera does the recording. The Multifunctional Vision Dock gives you a touchscreen, a microSD slot and extra battery. Attach the camera to the dock facing forward or backward, or detach it to shoot on its own.[1]
The camera alone is waterproof to 10 m. The Vision Dock is not, so remove it before taking the camera underwater.[1]
Key features
-
4K at 60 fps
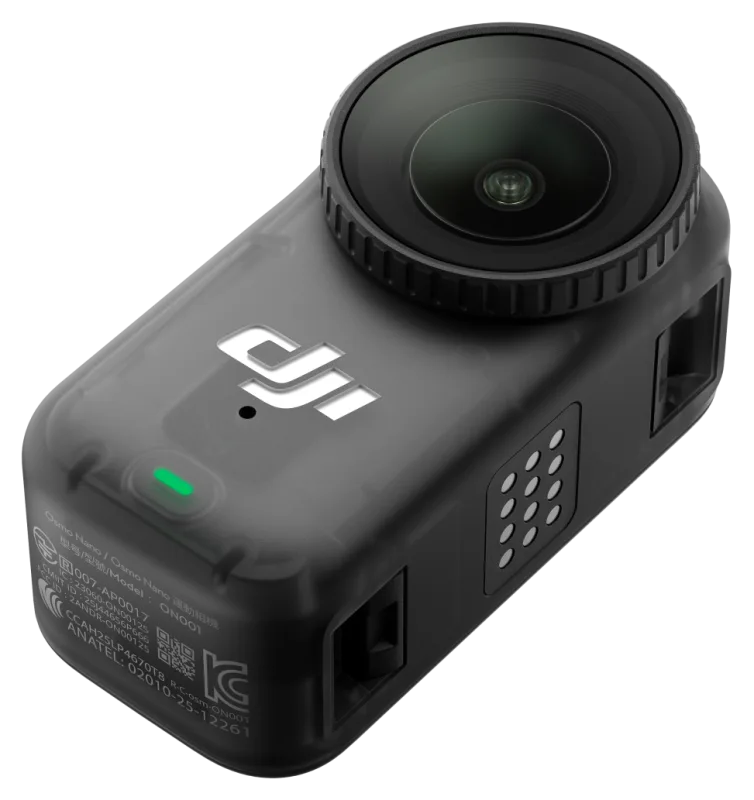
A 1/1.3-inch sensor with a 143° field of view records 4K video at 60 fps.[2]
-
Only 52 g
The camera unit weighs 52 g, light enough for magnetic mounts, hat clips and lanyards.[2]
-
Vision Dock
Gives you a 1.96-inch touchscreen and extra battery, and shows a live preview wirelessly even when the camera is detached.[1]
-
Pre-Rec and Loop Recording
Pre-Rec keeps the moments before you press record. Loop Recording overwrites old footage while you wait for something to happen.[1]
-
Auto Recording
The camera starts recording automatically on a trigger or at a set interval. Useful for cycling and hiking.[1]
-
Two-mic support
Connects to two DJI wireless microphone transmitters at the same time.[1]
Specifications
Values are the manufacturer's published figures. Battery times are measured by the manufacturer in lab conditions and will be shorter in real use.
| Sensor | 1/1.3-inch[2] |
|---|---|
| Field of view | 143°[2] |
| Aperture | f/2.8[2] |
| Video | 4K at up to 60 fps (16:9)[2] |
| Photo | 35 MP[2] |
| Stabilization | RockSteady 3.0, HorizonBalancing[2] |
| Screen (Vision Dock) | 1.96-inch touchscreen[2] |
| Waterproof | Camera: 10 m. Vision Dock: IPX4 splash resistance, not for underwater use[2] |
|---|---|
| Battery | Camera 530 mAh, Vision Dock 1300 mAh; up to 90 min camera alone or 200 min with the dock (manufacturer tests)[2] |
| Operating temperature | -20 °C to 45 °C[2] |
| Built-in storage | 64 GB (48 GB available) or 128 GB (107.6 GB available), depending on version[2] |
| microSD | Up to 1 TB, in the Vision Dock[2] |
| microSD use | For exporting footage from the camera; footage cannot be recorded directly to the card[1] |
| Wireless | Wi-Fi 6; live preview range with the dock about 10 m[2] |
Getting started
-
Attach the camera to the Vision Dock
Place the camera on the dock with the lens facing forward or backward and press down until it clicks. To detach it, press the quick-release buttons on both sides.[1]
-
Power on
With the camera on the dock, press and hold either the camera button or the Vision Dock button. Both power on together.[1]
-
Connect to DJI Mimo
DJI requires activation in DJI Mimo before first use. Scan the QR code on the screen to get the app, turn on Wi-Fi and Bluetooth, open DJI Mimo, tap the camera icon and follow the steps.[1]
-
Charge
Open the USB-C port cover and connect the included cable to a charger. DJI recommends a USB-C PD charger. When attached, the dock also charges the camera.[1]
Before shooting anything important, record a short test clip to confirm everything works.
How-to tutorials
Buttons
- Camera button (camera off): press once to power on and start recording (SnapShot), and press again to stop. Press and hold to just power on.
- Camera button (camera on): press once to take a photo or start and stop recording. Press twice for your custom shooting mode, and press and hold to power off.
- Vision Dock button: press and hold to power on or off. Press once to take a photo or start and stop recording. Press twice to open quick mode switching, then press again to cycle modes.
Source: [1] DJI Osmo Nano User Manual
Pre-Rec, Loop Recording and stabilization
- Swipe up from the bottom of the screen to set shooting parameters. In video mode, tap the upper-left corner to turn on Pre-Rec or Loop Recording.
- Pre-Rec saves the footage from just before you pressed record, which helps you catch sudden highlights.
- Loop Recording overwrites older footage at a set interval, which saves storage, for example while driving.
- Tap the upper-right corner to choose an EIS mode (Off, RockSteady, HorizonCorrection or HorizonBalancing) and the field of view.
Source: [1] DJI Osmo Nano User Manual
Free up space: export to microSD
- Insert a microSD card into the Vision Dock.
- Attach the camera to the dock with the lens facing forward.
- Swipe down from the top of the screen, then swipe left to open the storage page.
- Tap Export to SD card to copy footage from the camera to the card.
Source: [1] DJI Osmo Nano User Manual
Copy footage to your phone or computer
- Phone: connect to DJI Mimo, open the album and download clips. You can also use the cable, with the camera on the dock facing forward.
- Computer: attach the camera to the dock facing forward, connect the included cable, then choose the storage location to transfer from on the screen.
- If the computer or phone is not detected, open the control center, tap USB mode and reconnect.
Source: [1] DJI Osmo Nano User Manual
Use Auto Recording
- In the control center, open Auto Recording, choose a trigger action and a time interval, then follow the on-screen steps.
- The camera powers off and then starts recording automatically based on your setting.
- To stop, press the camera or dock button to end the current recording, then stop the Auto Recording task in the control center.
Source: [1] DJI Osmo Nano User Manual
Video tutorials
Official tutorial videos published by the manufacturer. Videos open on the manufacturer's video site.
Manuals & downloads
Documents are hosted by the manufacturer and open in a new tab. Always use the latest version.
Troubleshooting
The camera will not connect to DJI Mimo
- Make sure Wi-Fi and Bluetooth are both turned on on your phone.
- Update DJI Mimo to the latest version.
- Swipe down from the top of the live view and choose Wireless Connection > Reset Connection. This resets all connections and Wi-Fi passwords.
Source: [1] DJI Osmo Nano User Manual
A firmware update fails
- Restart the camera and DJI Mimo.
- Turn on Wi-Fi and Bluetooth on your phone.
- Reconnect and try again. If it fails again, contact DJI Support.
Source: [1] DJI Osmo Nano User Manual
The phone or computer does not detect the camera over the cable
- Attach the camera to the Vision Dock with the lens facing forward before connecting.
- Open the control center, tap USB mode and reconnect the cable.
Source: [1] DJI Osmo Nano User Manual
Footage won't record to the microSD card
- This is expected. The camera records to its internal storage only. Use Export to SD card to move footage to the card in the Vision Dock.
Source: [1] DJI Osmo Nano User Manual
Still stuck with a rented unit? Contact JuanderGear.
Care & safe use
Water use[1]
- Remove the Vision Dock before using the camera underwater (10 m maximum). Do not use the protective case underwater.
- Make sure the lens protective cover is firmly mounted, undamaged and clean, and its rubber ring is in place.
- Avoid jumping into water at high speed with the camera.
- Rinse with tap water afterwards, let it dry naturally and wipe it with a soft, dry cloth. Never use a hair dryer.
Cleaning and handling[1]
- Do not use alcohol or cleaning solutions on the camera.
- If the mic holes or vents are blocked by sand, rinse with fresh water while the camera is sealed.
- Dry wet or dirty contacts with a soft cloth before connecting the camera, to avoid short circuits or corrosion.
- The contacts can get hot during use. Avoid touching them for long, and use the protective case if you hold the camera for a long time.
Magnetic accessories[1]
- Make sure the camera is fully attached to the magnetic plate before moving.
- Do not use the magnetic lanyard over thick clothing or during intense movement, and do not attach the Vision Dock while using the lanyard.
- The suction mount is for short, static shots. Attach it only to smooth, clean, flat surfaces.
FAQ
Can the Vision Dock go underwater?
No. Only the camera is waterproof (to 10 m). Remove the Vision Dock before going underwater.[1]
Why does the microSD slot not record footage?
The camera records to its internal storage. The microSD card in the Vision Dock is used to export footage and free up space.[1]
Can I see what the camera sees when it is detached?
Yes. Power on the Vision Dock to see the live view wirelessly while the camera is used on its own. Stay within the video transmission range.[1]
Sources
- DJI Osmo Nano User Manual (opens in a new tab) — DJI. Checked October 23, 2026.
- Osmo Nano specifications (opens in a new tab) — DJI. Checked October 23, 2026.
Product names, logos and trademarks belong to their respective owners. JuanderGear is an independent rental service and is not affiliated with or endorsed by DJI, JBL/HARMAN or Microsoft. Guide content is summarised from the manufacturers' public documents; if anything here differs from the official manual, the manual takes precedence.
More product guides
-
 Cameras
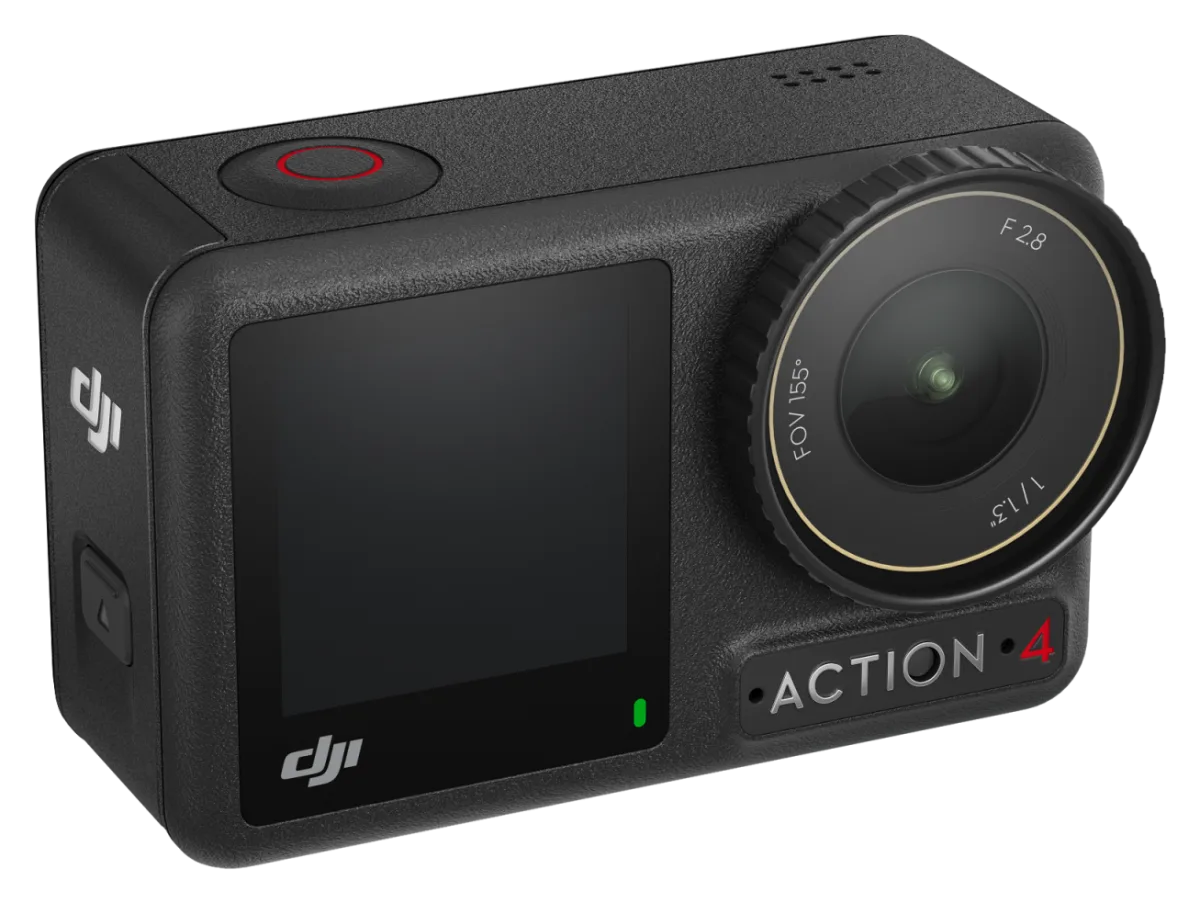
DJI Osmo Action 4
Rugged action camera with a 1/1.3-inch sensor, 4K video at up to 120 fps, two touchscreens and waterproofing to 18 m without a case.
-
 Audio
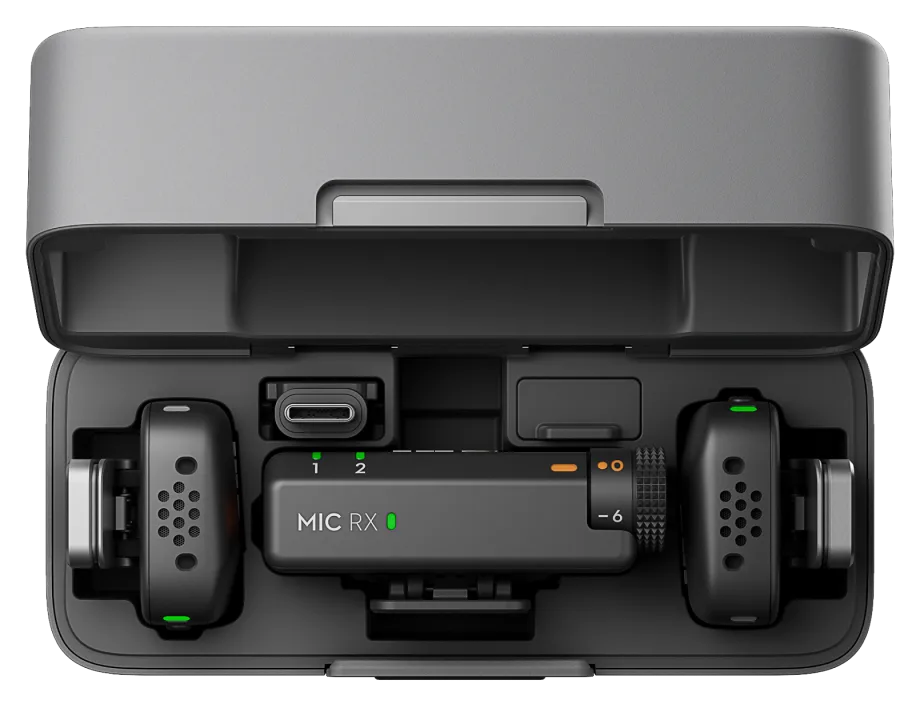
DJI Mic Mini
Ultra-light wireless microphone kit: about 10 g per transmitter, up to 11.5 hours per charge, and direct connection to phones, cameras and computers.
-
 Cameras
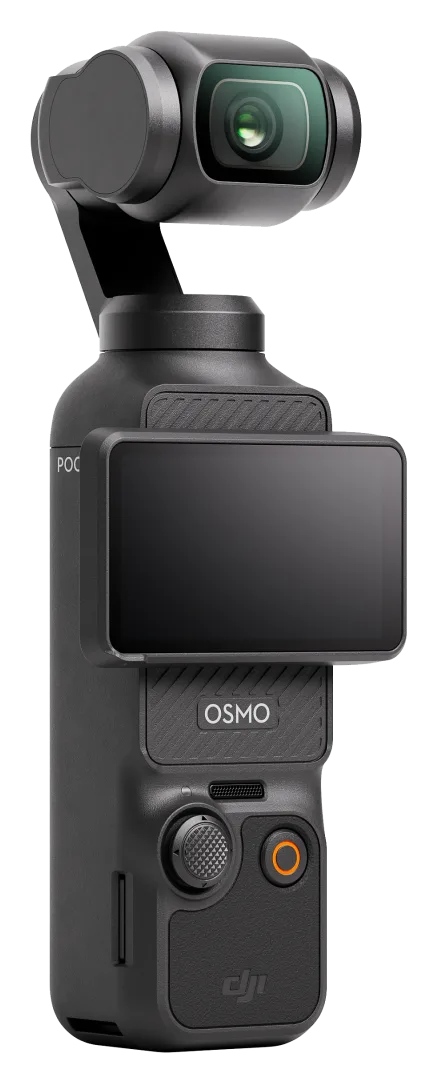
DJI Osmo Pocket 3
Pocket-sized 3-axis gimbal camera with a 1-inch sensor, 4K video and a 2-inch rotating touchscreen. Made for vlogging and travel.
Need help with your rental?
If something is not working as described, or a guide does not cover your question, message the JuanderGear team. For warranty and repairs of devices you own, contact the manufacturer directly.